How to dismiss the keyboard in SwiftUI
Oct 18, 2022
When dealing with forms and more, it is likely that you would encounter a scenario where you would want to dismiss the keyboard programmatically ie. on click of "Submit" or "Next" button. Without further ado, let's explore a couple of ways to dismiss the keyboard in SwiftUI.
Using App Delegate Methods
One of the easiest way is to use app delegate method and calling the endEditing() on UIApplication. This method will resign the first responder of the view (which, in this case, is the textfield's keyboard).
@State var name : String = ""
    var body: some View {
        VStack {
            TextField("Enter name here", text: $name)
            Button {
                dismissKeyboard() // 1
            } label : {
                Text("Dismiss Keyboard") // 2
            }
        }.padding() // 3

    func dismissKeyboard() {
      UIApplication.shared.windows.filter {$0.isKeyWindow}.first?.endEditing(true) // 4
    }
}
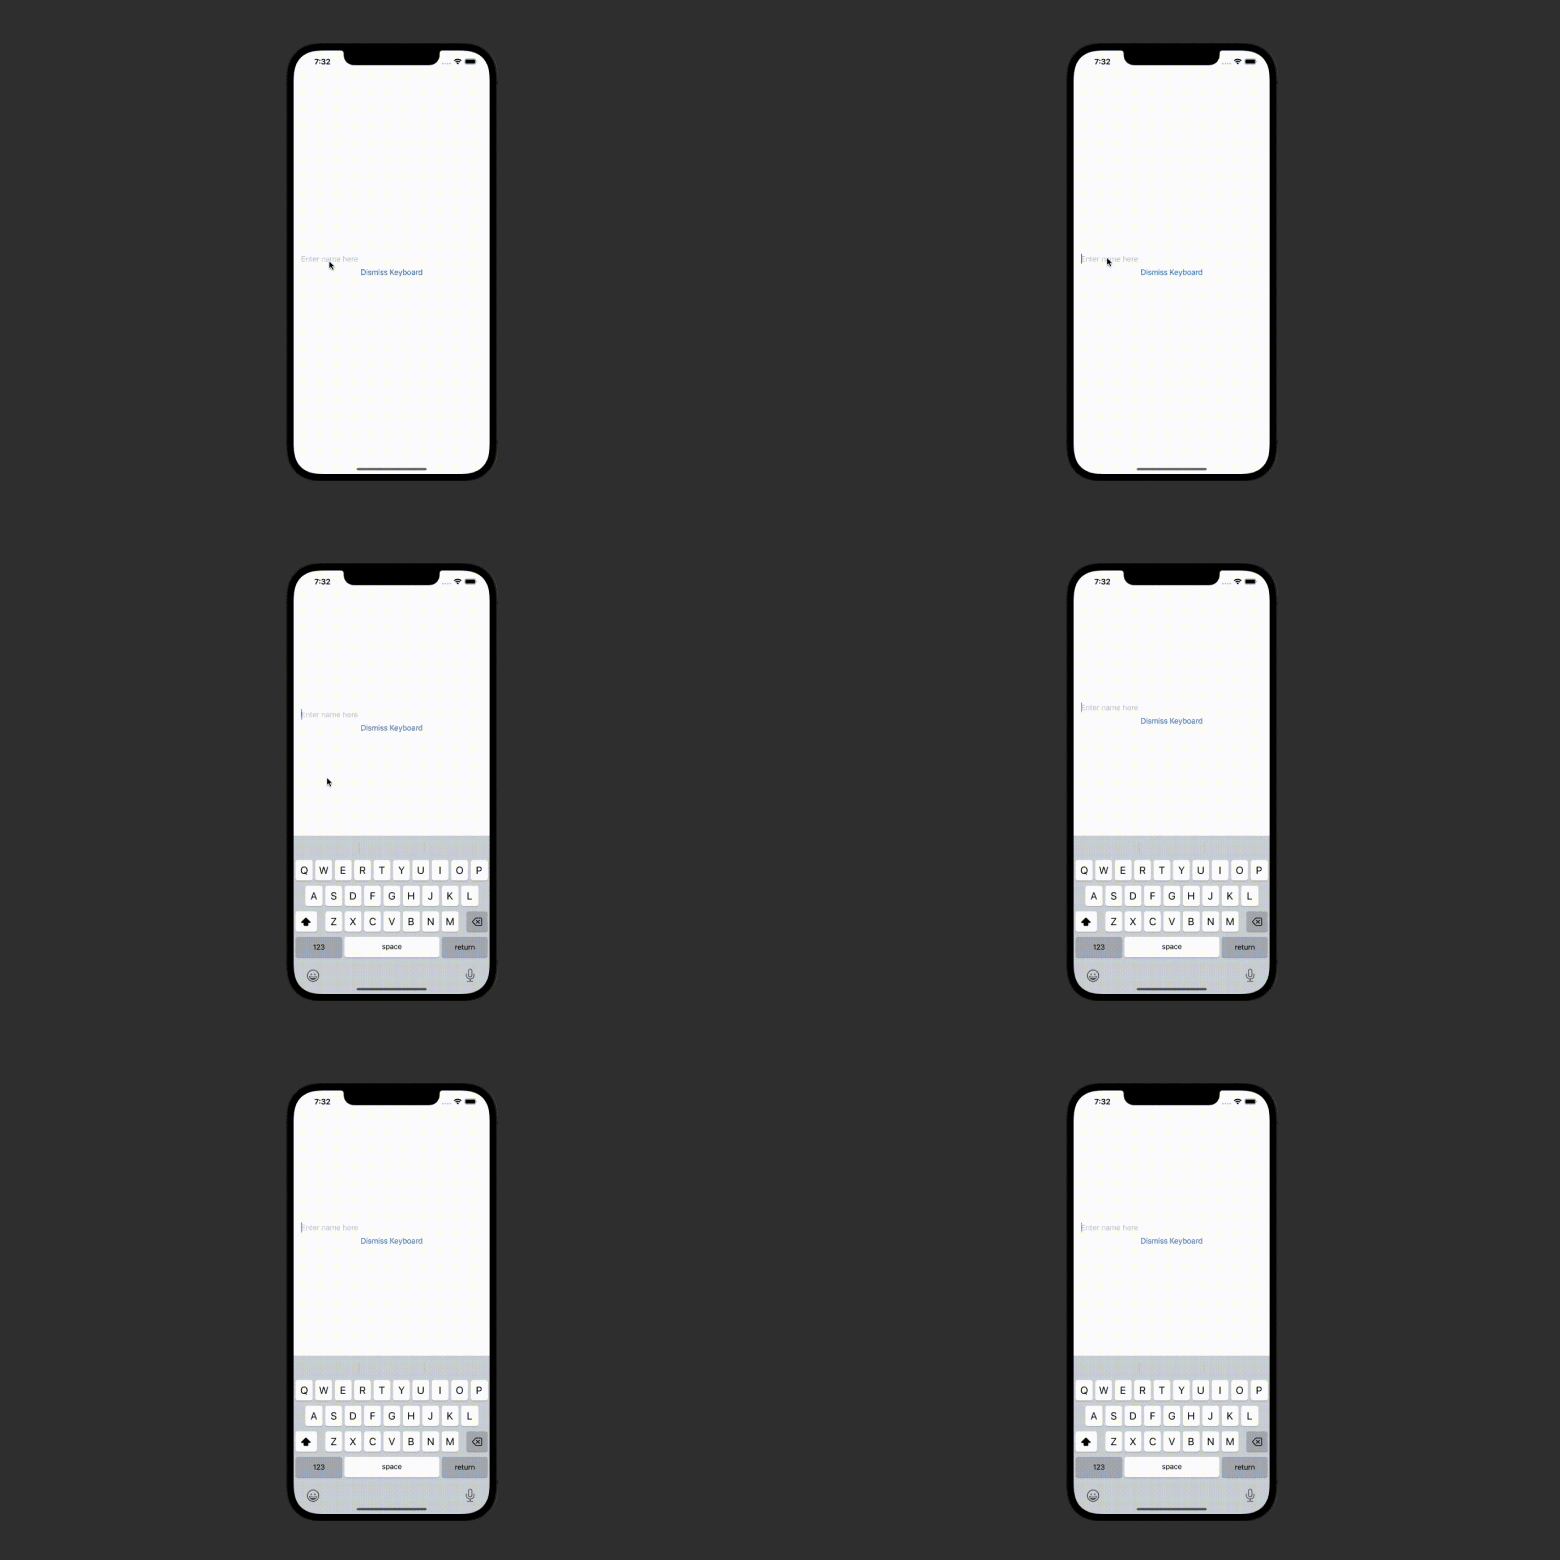
Result:

Code Explanation:
- Calling the dismiss keyboard method on the click of "Dismiss Keyboard" button.
- Setting a label of text "Dismiss Keyboard" of the button.
- Adding padding to the view.
- Defining
dismissKeyboard()function which ends editing on UIApplication.
@FocusState for iOS 15+
The above method requires you to directly interact with the UIApplication method. If you are looking for more SwiftUI-like method to do the same, you can try the FocusState method. The only fallback of this method is that its only available for iOS 15 and later.
@State var name : String = ""
  @FocusState var isFocused : Bool // 1
    var body: some View {
        VStack {
            TextField("Enter name here", text: $name)
                .focused($isFocused) // 2
            Button {
                isFocused = false // 3
            } label : {
                Text("Dismiss Keyboard")
            }
        }.padding()
    }
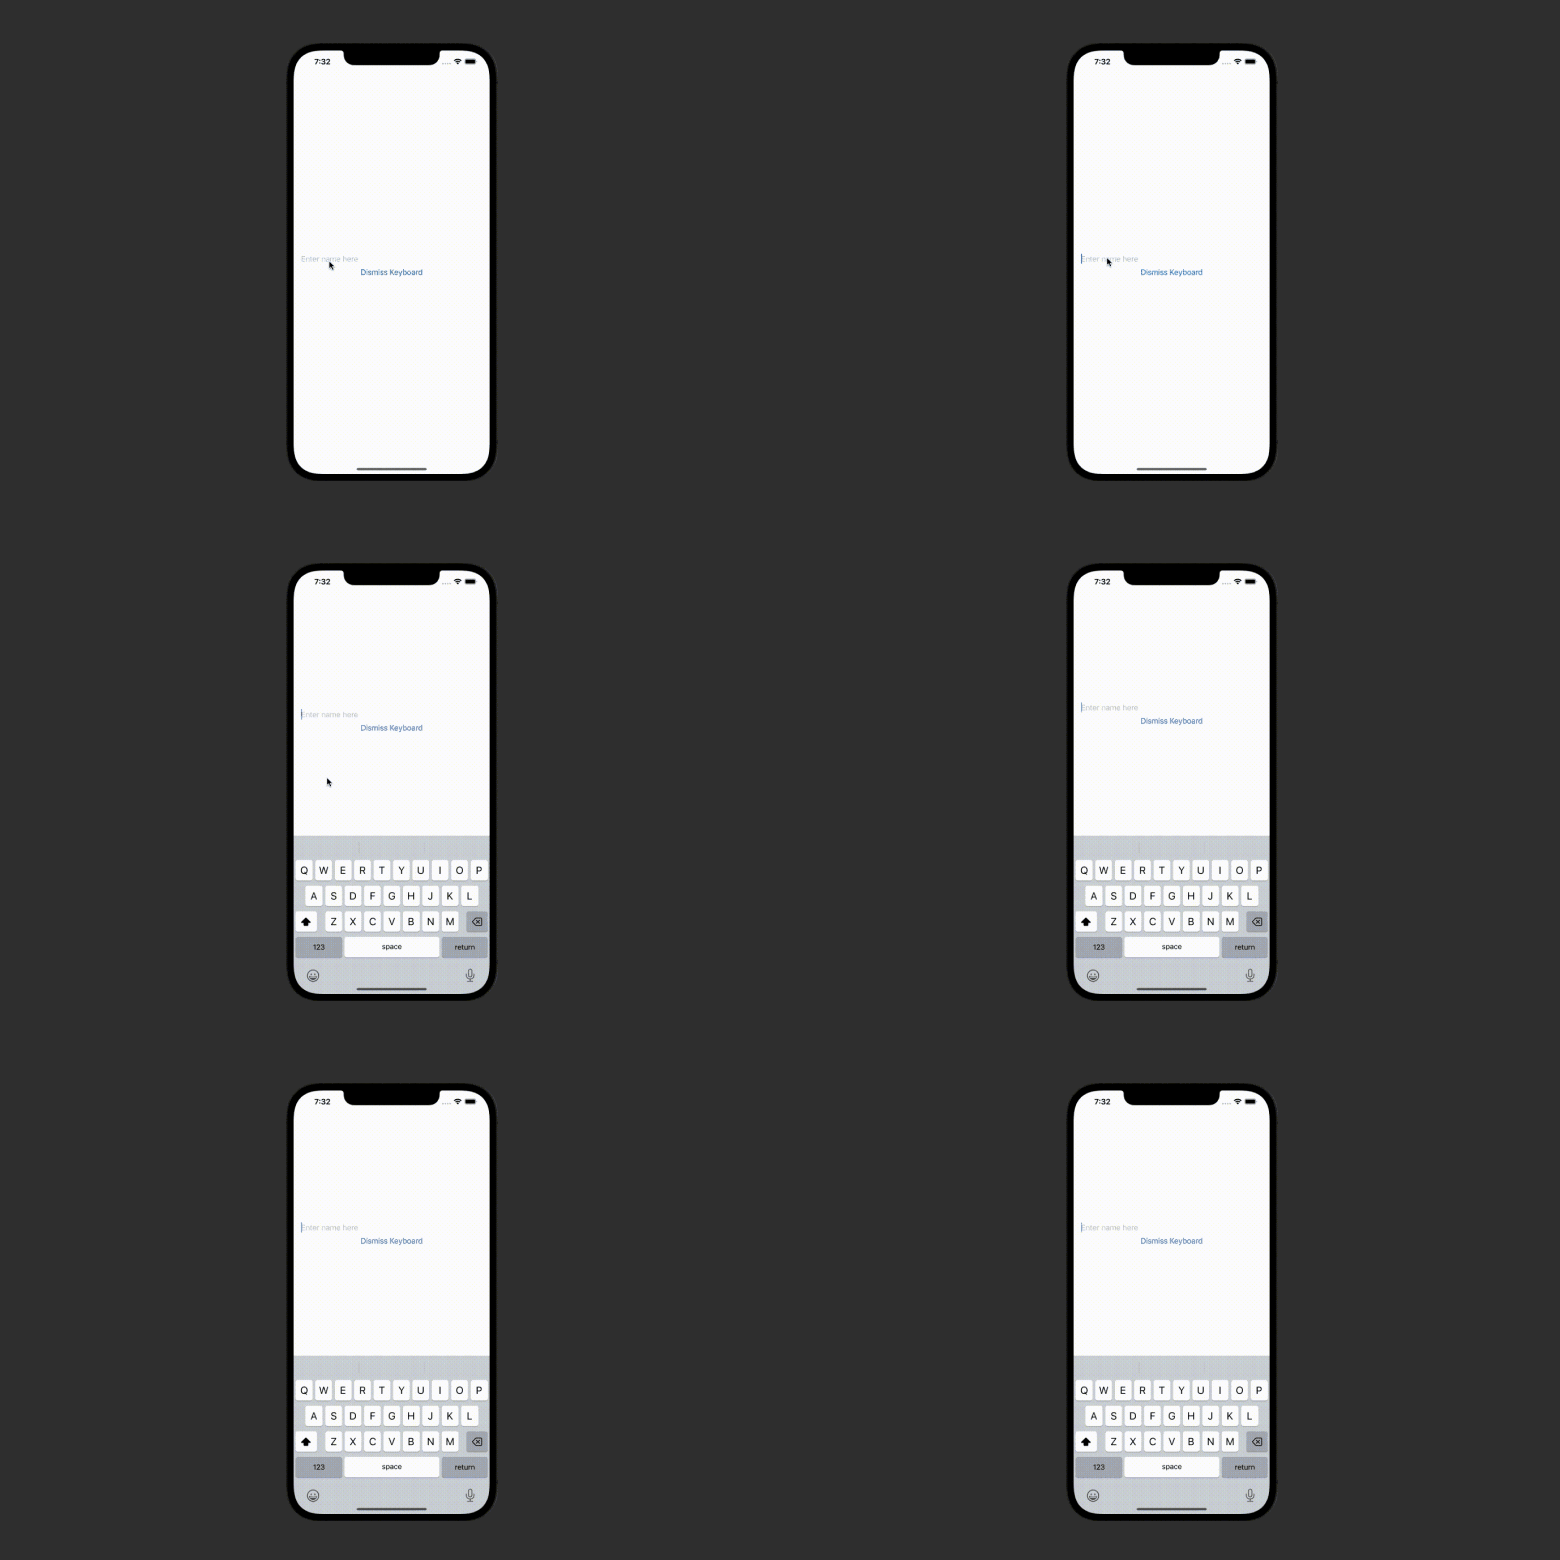
Result:

Code Explanation:
- Defining a
@FocusStatebool variable. Observe that we are not defining a value to it and rather just assigning it the type ofBool. - Adding the style modifier of to the textfield and assigning it the binding variable of
isFocusedvariable. - Setting the
isFocusedvalue to false on the "Dismiss Keyboard" button click.
The above method works when you have one textfield on the screen. Let's take a look at a case when there are multiple textfields on the screen.
	// 1
    @FocusState var isEmailFocused : Bool
    @FocusState var isNameFocused : Bool

   // 2
    @State var email : String = ""
    @State var name : String = ""

    var body: some View {
        VStack(spacing: 20) { // 3
        // 4
            TextField("Enter name here", text: $name)
                .focused($isNameFocused)
            TextField("Enter email here", text: $email)
                .focused($isEmailFocused)

            Button("Dismiss Current TextField") { // 5
                if isNameFocused {
                    isNameFocused = false
                } else if isEmailFocused {
                    isEmailFocused = false
                }
            }

        }.padding()
    }
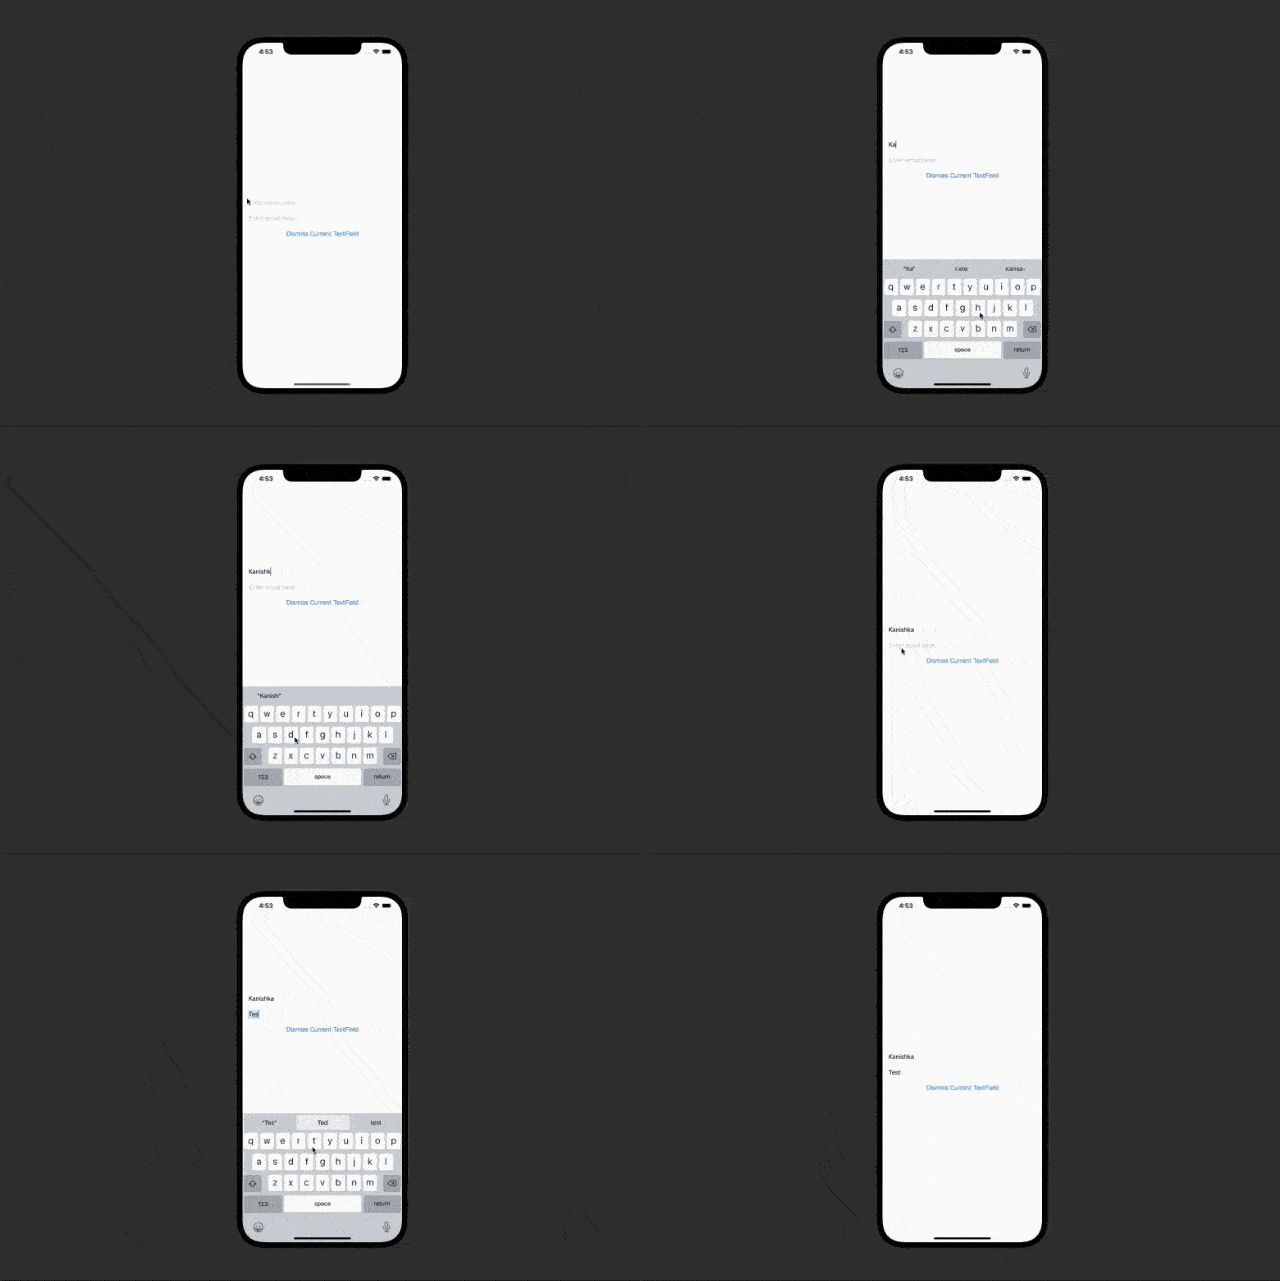
Result:

Code Explanation:
- Defining individual focus state variables for email and name variable
- Defining string variables for name and email field
- Defining a VStack with spacing set to 15
- Showing textfields with text and focus state set to the corresponding variable
- Showing a button with text initializer. On tap, the button checks if the
isNameFocusedis true. If so, it togglesisNameFocused, else if checks if if email is focused and sets it to false.
Congratulations! Today you learned about two ways to dismiss keyboard in SwiftUI - using UIApplication editing method and by using Focus State variable (available for iOS 15 or later) for both single and multiple textfields in the screen.

