How to use Geometry Reader in SwiftUI
Jun 04, 2022
SwiftUI Layout works very differently than UIKit; Wherein in UIKit we dealt with raw frames, and either added constraints accordingly or have some concrete frame-set to specify the position of views, in SwiftUI, the layouts are defined in the form of stacks, spacers and paddings.
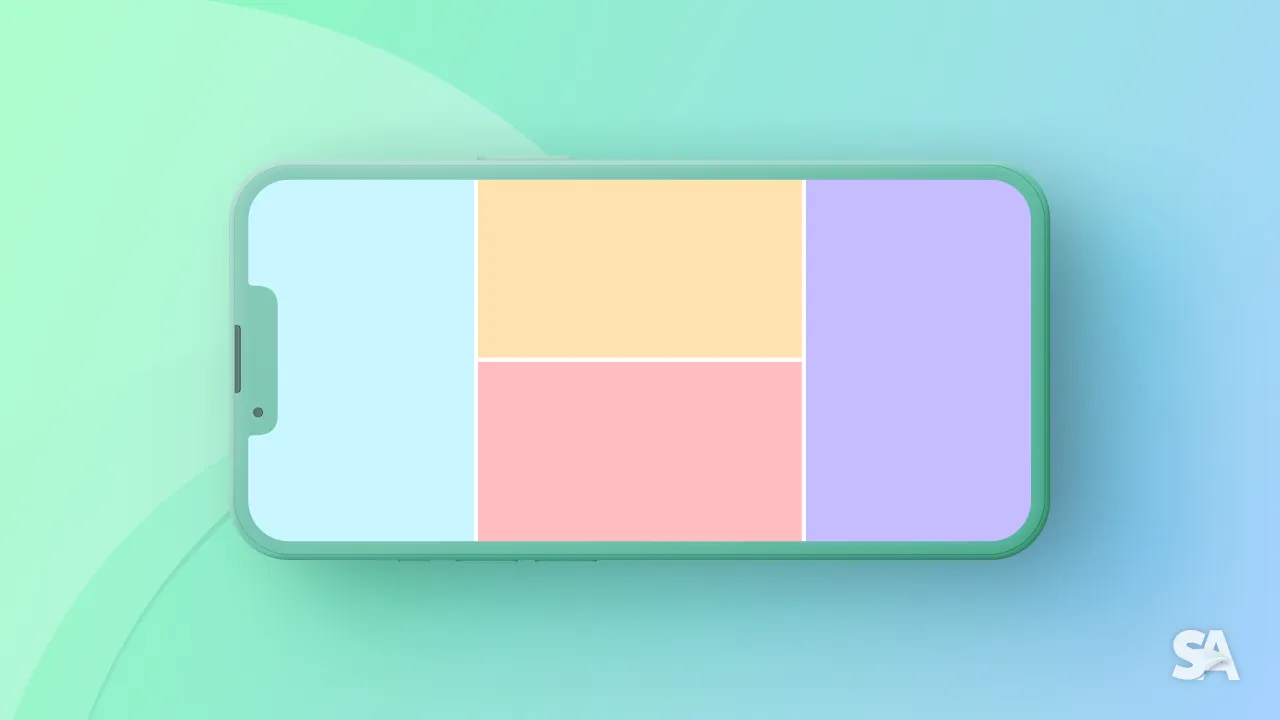
This layout system provides us a lot of simple and flexible ways to define our view's position, but sometimes scenarios arise where you need to have specific frames or size, set for a view either by setting some concrete value for which SwiftUI have provided .frame modifier. There are also conditions where you need to define the size or position of a view relative to it's parent, and for this particular use case, SwiftUI have provided us with GeometryReader.
GeometryReader is a special container view like any other container view such as VStack, ZStack and Group but the special part is, the closure this container has, have a parameter of type GeometryProxy which contains information about this containers size and safeAreaInsets. Also it has a function frame(in: CoordinateSpace) -> CGRect which give us frames for a certain CoordinateSpace (more on this in later section of the article).
You can use this information to size/position our view relative to the size/position of it's superview and any view in the hierarchy.
Before indulging deeper into geometry reader, let's look at an alternative way to fetch frame properties of a view without using geometry readers.
An Alternative
So, what if you want an element to consume like 1/4th or 1/3rd of the screen? Well, you can go UIScreen.main.bounds. The downside is it works only if your app is portrait since it doesn't adapt to the different orientations.
	   VStack(spacing: 0) {
            Color.orange
                .frame(height: UIScreen.main.bounds.height * (1/3)) // 1
            Color.red
        }
Result:

Code Explanation:
- Here, the height of the orange color is set to the 1/3rd of the screen height. You can see that the screen height is fetched from
UIScreen.main.bounds
Basic Implementation
GeometryReader works by wrapping our view inside the view builder closer, it acts as a container.
For accessing the frame properties, you could just wrap the view around a geometry reader and use the geometry proxy in it. The job of geometry proxy is to provide you with the frame in a certain coordinate space (talked in detail in upcoming sections).
Let’s see geometry reader in action by having a couple of colors in a VStack:
   GeometryReader { reader in // 1
            VStack {

                    Color.blue
                        .frame(height: reader.size.height * (1/5)) // 2
                        .cornerRadius(10)
                        .padding()

                    Color.green
                        .frame(height: reader.size.height * (1/2)) // 3
                        .cornerRadius(10)
                        .padding()

            }
        }
Result:

Code Explanation:
- As we discussed earlier, here the view is wrapped around the reader.
- Color blue was used in VStack (for the sake of simplicity) with height that is 1/5th of the whole screen.
- Green color is made to cover half of the screen.
The key here is to observe that even if the simulator changes the orientation, the view looks as excepted and adapts to it (which would not possible with UIScren.main.bounds).
Coordinate Spaces
There are three coordinate spaces available to use in geometry reader:
- Global - Frame relative to the whole screen/superview ie. the whole content view
- Local - Frame relative to the immediate parent view
- Custom - The custom coordinate space (identifying a view by adding
.coordinateSpace(name: "<name goes here>"))
Global and Local Coordinate Space
Let's make a list item with text wrapped around the geometry reader. The text should display the mid x and y value of the global and local frames. Let's also add some bold title just in a VStack in order to add some extra content to the overall view.
        VStack(alignment: .leading) {
            Text("Title")
                .bold()
                .font(.title)
                .padding()
            List {
                GeometryReader { reader in
                    Text("Global : (\(Int(reader.frame(in: .global).midX)), \(Int(reader.frame(in: .global).midY))) Local: (\(Int(reader.frame(in: .local).midX)), \(Int(reader.frame(in: .local).midY)))")
                }
            }
        }
Result:
You can observe how the global Y coordinate changes as you change the scroll position of the item. Moreover, the local coordinates remain the same since that frame is relative to the list cell view.
Custom Coordinate Space
Now that you understood global and local coordinate space, let's take a look at custom coordinate space.
  var body: some View {

        GeometryReader { reader in
            ZStack { // 1
                Color.blue
                    .coordinateSpace(name: "blue") // 2
                    .cornerRadius(10)

                Color.red
                    .frame(height: reader.frame(in: .named("blue")).height * 1/2) // 3
                    .cornerRadius(10)
                    .padding()

            }.padding()
        }
    }
Result:

Code Explanation:
- Here, there is a ZStack in which are we are going to put the content
- The blue view is given the coordinate space name of "blue" so this can be used later
- The height of the red view is calculated such that it is half of the coordinate space "blue" (aka the blue view)
Here, the key is .coordinateSpace(name: "blue"). If you wouldn't have named that coordinated space, the red view wouldn't have been able to get blue view's frame.
Moreover, you can see how using a coordinate space can give use frame of the specific view required.
Congratulations! You deserve to celebrate this moment. Today you learned about geometry reader in SwiftUI and what is its significance, alternative way to get the frame properties using UIScreen bounds and different type of coordinate spaces and it's usage. We encourage you to read more related articles like Colors and Gradient in SwiftUI.

